

Build a data analyst agent with Claude Managed Agents
Introduction
Every team has someone who gets handed a CSV and asked "what's interesting in here?" In this cookbook you'll build an agent that answers for them: upload a CSV, get back a narrative HTML report with interactive charts.
You'll run it on Claude Managed Agents(opens in new tab), Anthropic's hosted runtime for stateful, tool-using agents, built on four core concepts:
- Agent: the model, system prompt, tools, MCP servers, and skills
- Environment: a configured container template (packages, network access)
- Session: a running agent instance within an environment, performing a specific task and generating outputs
- Events: messages exchanged between your application and the agent (user turns, tool results, status updates)
An agent plus an environment gives you a session. You attach your data to it as resources, then drive it by sending events and reading back the stream.
Anthropic handles the sandbox, tool execution, and context management for you. If you need full control over the agent loop and deployment, try the Claude Agent SDK(opens in new tab) instead.
What you'll learn
By the end of this cookbook you'll be able to:
- Set up a reusable environment and agent for data analysis
- Hand the agent a dataset to work with
- Watch the agent's progress as it runs
- Download the report and any other files it produced
Prerequisites
- Python 3.11+
- An Anthropic API key from the Console(opens in new tab), set as
ANTHROPIC_API_KEY
Install dependencies:
1. Create an environment
An environment is a reusable container spec. Declaring pandas and plotly here means every session starts with them preinstalled, so the agent can begin analyzing immediately instead of running pip install first.
Networking is unrestricted here so the agent can load plotly from its CDN – but that lets it reach anywhere on the internet, so for production use a host allowlist(opens in new tab) instead.
2. Create the agent
An agent pairs a model with a system prompt and a set of tools. Most of the output quality comes from the system prompt; this one pushes for narrative structure, findings backed by specific figures, and the right pattern for embedding multiple plotly charts in one HTML file.
agent_toolset_20260401(opens in new tab) provides eight tools: bash, read, write, edit, glob, grep, web_fetch, and web_search. Here they all run under always_allow, with the two web tools disabled because this analysis is offline.
3. Upload the dataset
The included sample CSV has 50 rows, so the analysis completes in a few minutes. Swap in any CSV (or a zip of CSVs) here; the rest of the flow is identical.
Uploaded sales_data.csv (2833 bytes) as file_011CZqKKomgL45BLo2J8K5X9
4. Create a session and send the task
A session binds the agent to the environment and any mounted files. Passing {"type": "agent", "id": ..., "version": ...} reuses the versioned agent you created above. resources mounts the uploaded file at the given absolute path inside the container.
After creating the session, send a user.message event with the task. The agent will start working immediately.
Session sesn_011CZqKKqyPRph9J5khKLn6u running
5. Stream the run
Open the session in the Console(opens in new tab) under Sessions to watch every event, tool call, and token count live:
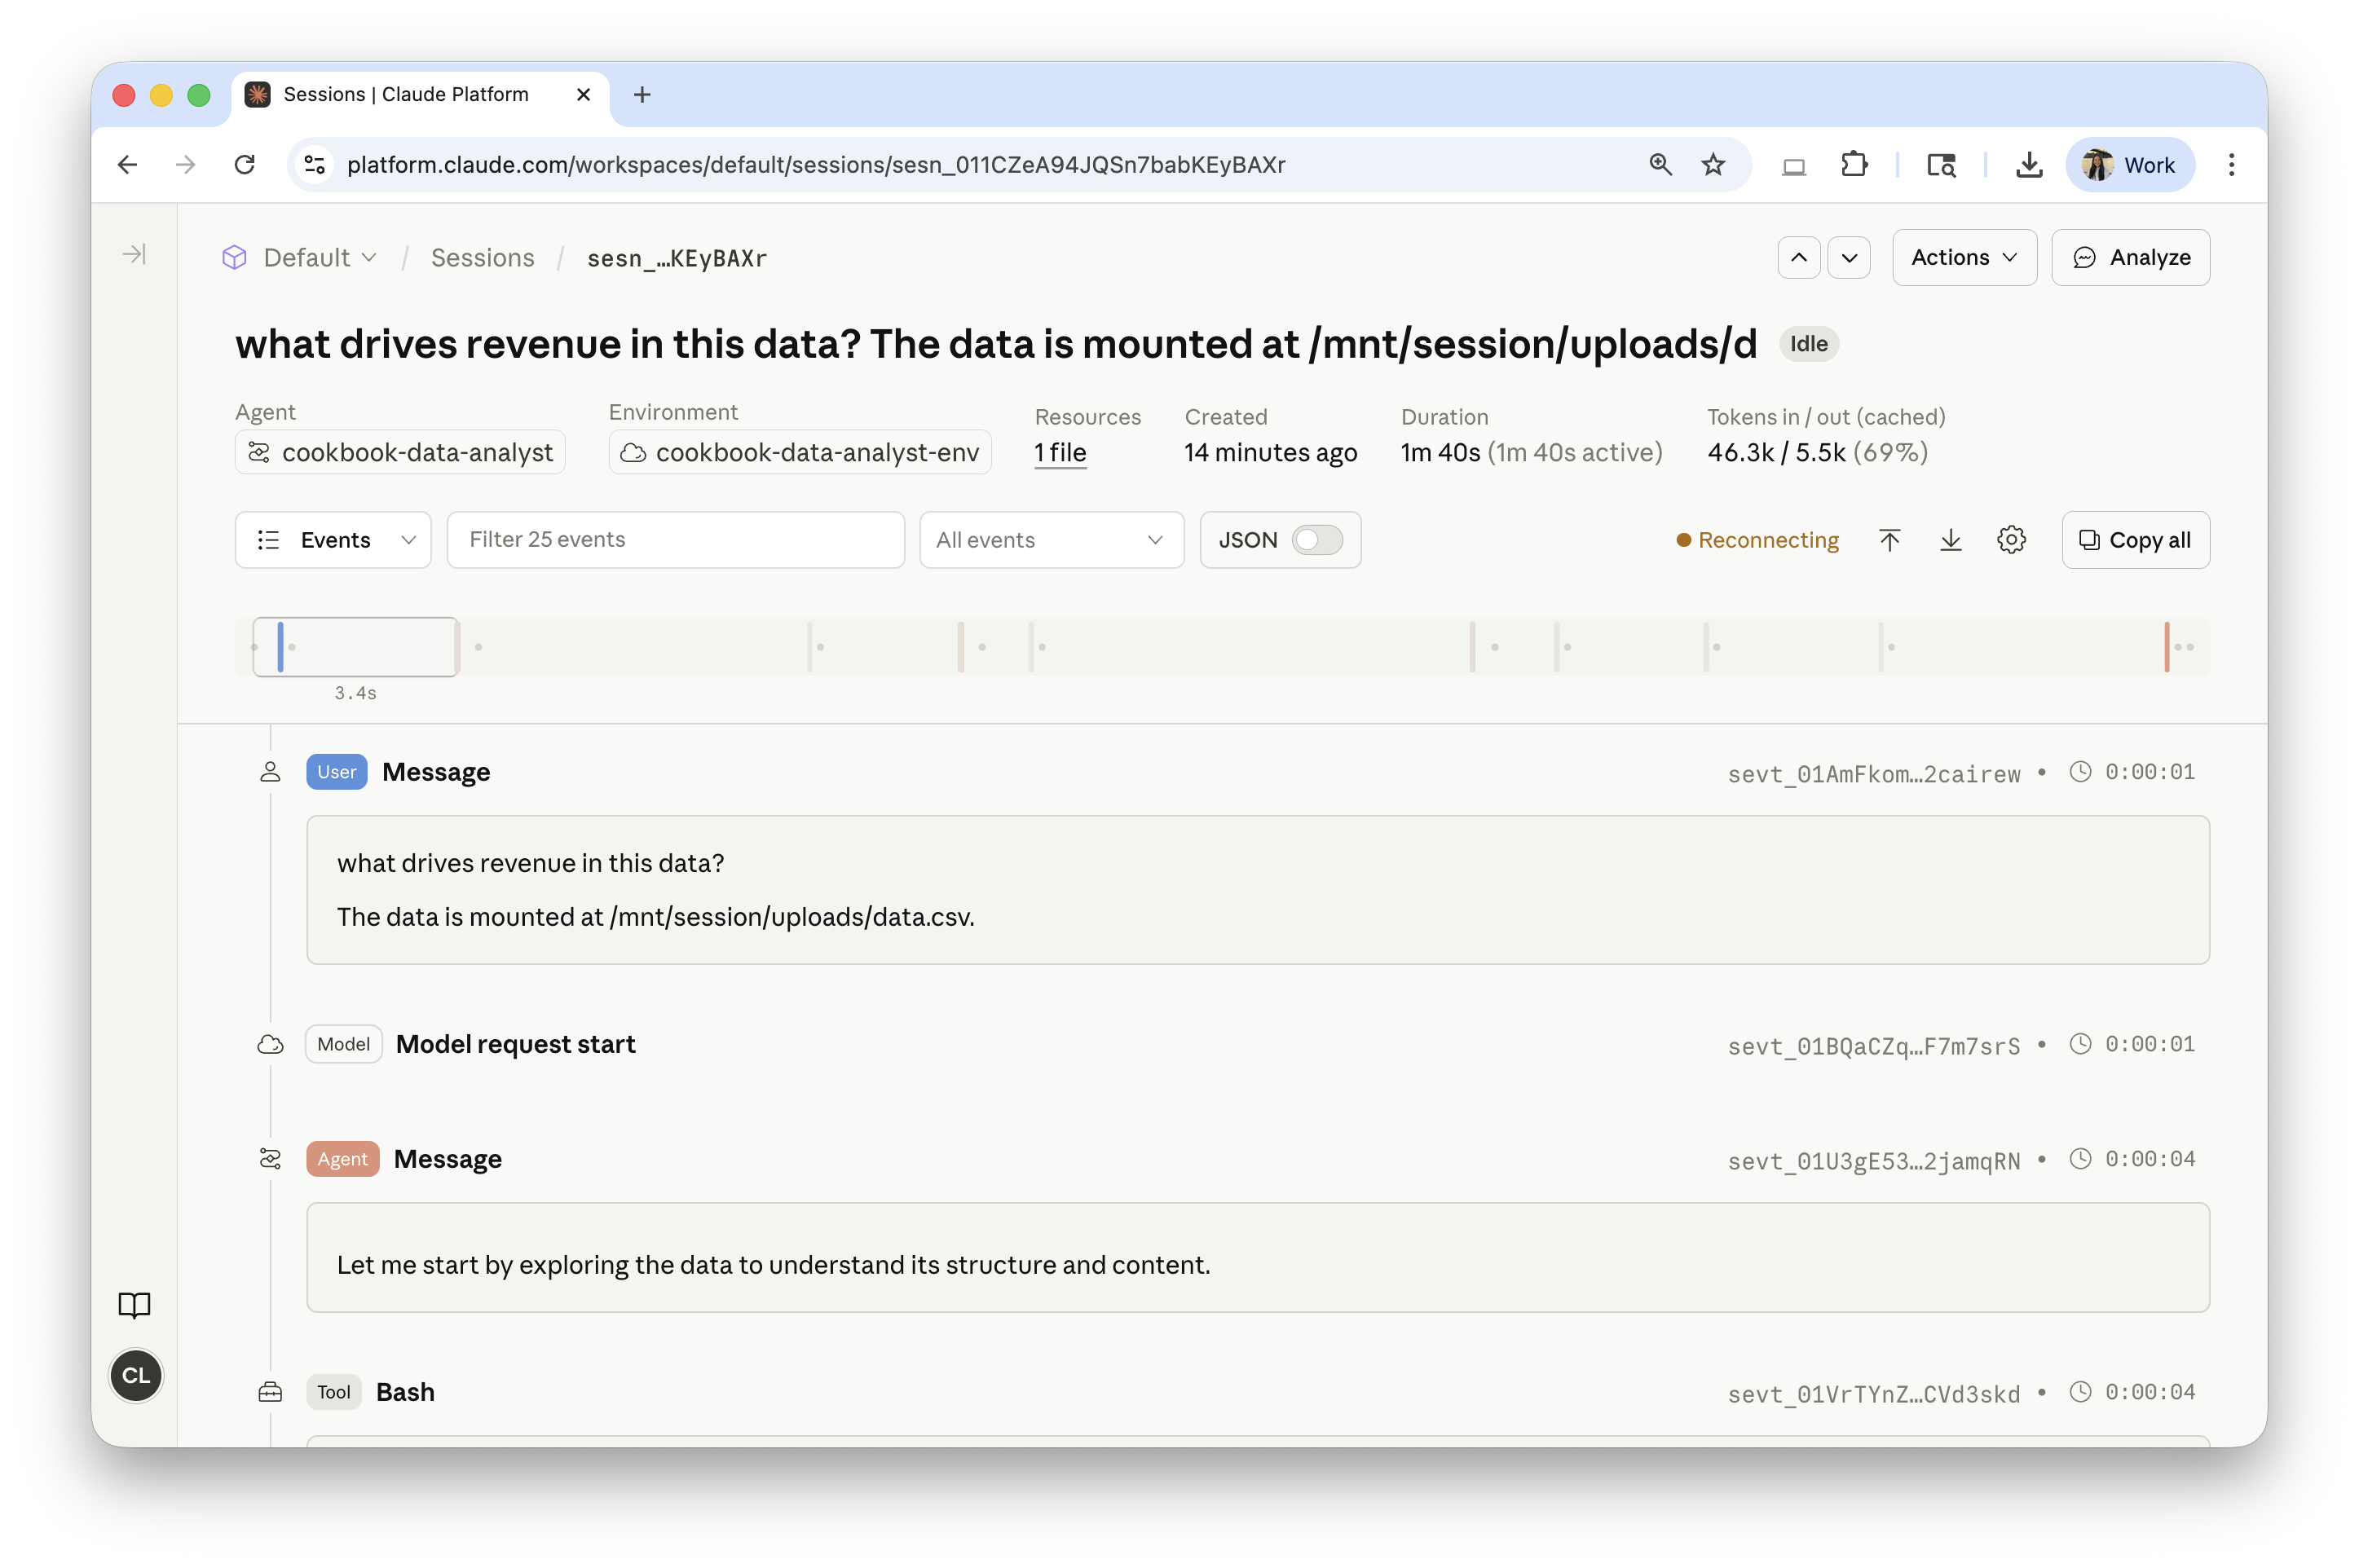
The helper below tails the same event stream, printing agent.message text and agent.tool_use calls as they arrive, and returns on session.status_idle.
6. Retrieve the report
Anything the agent writes to /mnt/session/outputs/ is persisted and surfaced via the Files API with scope_id=<session_id>. Files written elsewhere in the container are not persisted.
The Files API(opens in new tab) is a separate feature in beta, so to use scope_id here you also need to pass the Managed Agents beta header.
report.html 53728
sales_data.csv 2833
Downloaded report.html
7. Clean up and next steps
You create the agent and environment once and reuse them across runs; you create a new session for each conversation. Now that you have the report, archive this session to release its container. The lines below save the agent and environment IDs to .env so slack_data_bot.ipynb(opens in new tab) can start new sessions with them.
Warning: make sure
.envis listed in.gitignorebefore running the next cell – never commit it.
Saved ANALYST_ENV_ID, ANALYST_AGENT_ID, ANALYST_AGENT_VERSION to .env
You've built and run a data analyst agent end to end: a reusable environment and agent, a session that mounted your CSV, a live event stream, and a downloaded HTML report.
From here:
- Open the downloaded
report.htmlto see the narrative and charts. - Open the session in the Console(opens in new tab) to inspect token usage and the full event log.
- Continue to
slack_data_bot.ipynb(opens in new tab) to drive this agent from Slack.